How do I set up Plume WiFi HomePass?
PlumeWiFi HomePass™ allows you to setup guest access for your network without needing a separate guest SSID. Better yet, each user will have their own password and you can setup varying levels of access to your network based on three different zones.
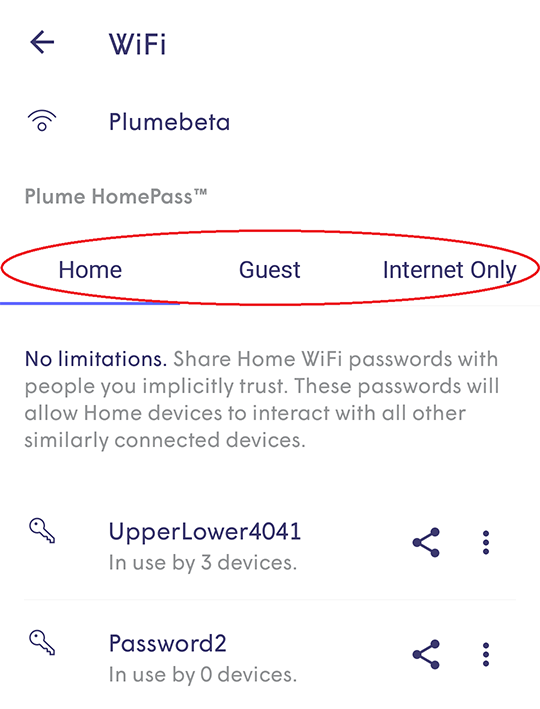
Home
- There are no access limitations in this zone. Users will be able to access both the internet and any shared network devices. Share these passwords with people you trust implicitly.
Guest
- Shared network devices will only be visible to users in this zone if you allow it. You can also setup rules to automatically disable the WiFi for your guest. You can set a password to auto-disable in 1 hour, 3 hours, end of day or at a time and date of your choosing.
Internet Only
- Passwords shared in this zone will only have access to the internet.
You can set up several passwords for each zone, so you can disable, edit or delete access for individual users at any time. You can have a total of 30 unique passwords for your entire network. Unused passwords can always be deleted to create new ones. Passwords must always be 8-64 characters in length.
How to access Plume WiFi HomePass™
iOS
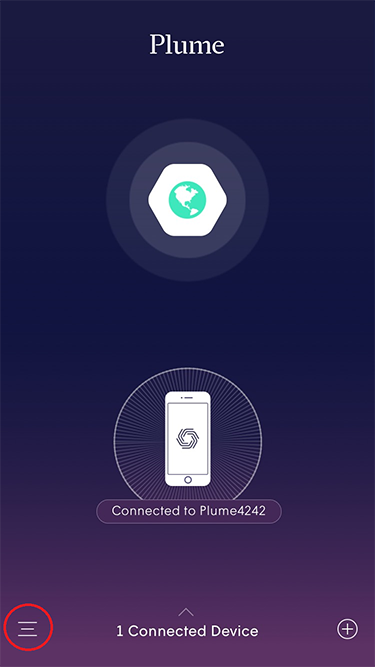
- Click on the bottom left icon on the App home screen
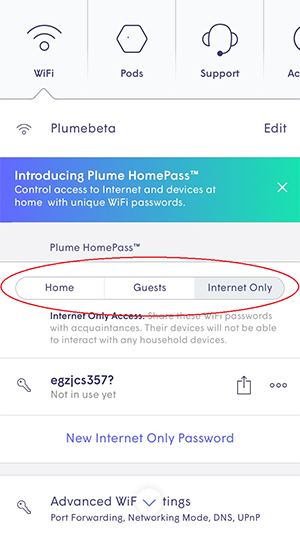
- In the WiFi tab you will see StellarWiFi HomePass under you network name
- In the StellarWiFi HomePass section, you will see a button for each zone
- Click on Home, Guests or Internet Only to access that zone’s settings page
Android
- Click on the key icon on the App home screen
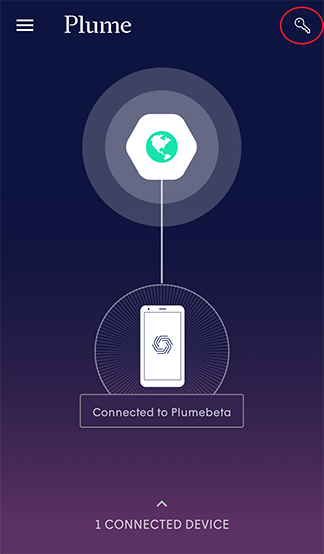
- On the WiFi page, under StellarWiFi HomePass, click on the Home tab
- In the StellarWiFi HomePass section, you will see a tab for each zone
- Click on Home, Guests or Internet Only to access that zone’s settings page
