Cisco setting WiFi channel to Auto
In order to change your Cisco WiFi channel to AUTO, please follow the below steps:
- Log-in to your Modem Interface by opening a web browser and type in the address bar 192.168.0.1 and press Enter (you will have to be connected directly with the modem and no router should be present)

For Cisco modem:
- You will be redirected to the user interface where you will be prompted to input Username and Password
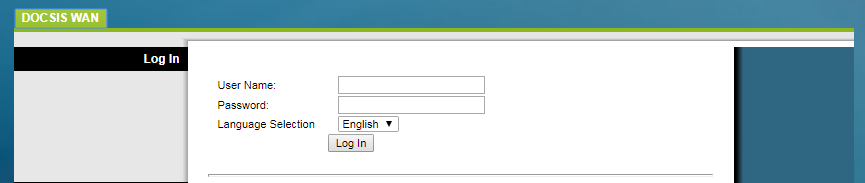
- Leave username and password empty and click on Log in
- The modem’s interface is now displayed. To change the wireless frequency, click on Wireless and Radio Settings (as shown below)
- Click Save Settings, close your browser and check your connection

- Once you are in the Radio Settings section, change the Channel Width and the Channel both to Auto
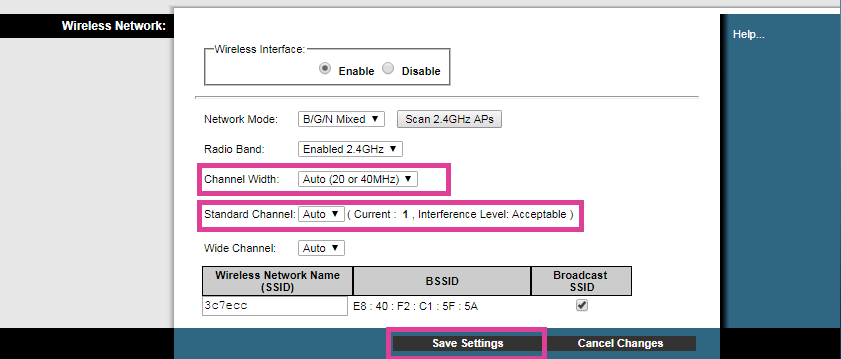
Click Save Changes to save your settings.
You’re all set!
